 Ferndale Siding
 Why Birch Bay Siding Wears Differently Than Inland Ferndale
Birch Bay sits right on the water, and that changes what siding has to survive. Homes a few miles inland in Ferndale deal with Whatcom County's wet winters and moss, but they aren't fighting salt-laden air off Puget Sound every day. In Birch Bay, that salt air settles on exterior surfaces, works into seams and fastener heads, and accelerates corrosion and finish breakdown in ways that inland siding just doesn't experience at the same rate. Add wind-driven rain coming straight off the water with nothing to break it up, and you've got a siding assembly that takes more abuse, more often, than almost anywhere else in the county.
That combination — salt exposure, driving rain, and a moss season that can run from October through May — means siding repair in Birch Bay isn't just a smaller version of what we'd do anywhere else. It requires knowing which failure points show up first on this stretch of coastline and fixing them in a way that holds up to the next few winters, not just the next inspection.
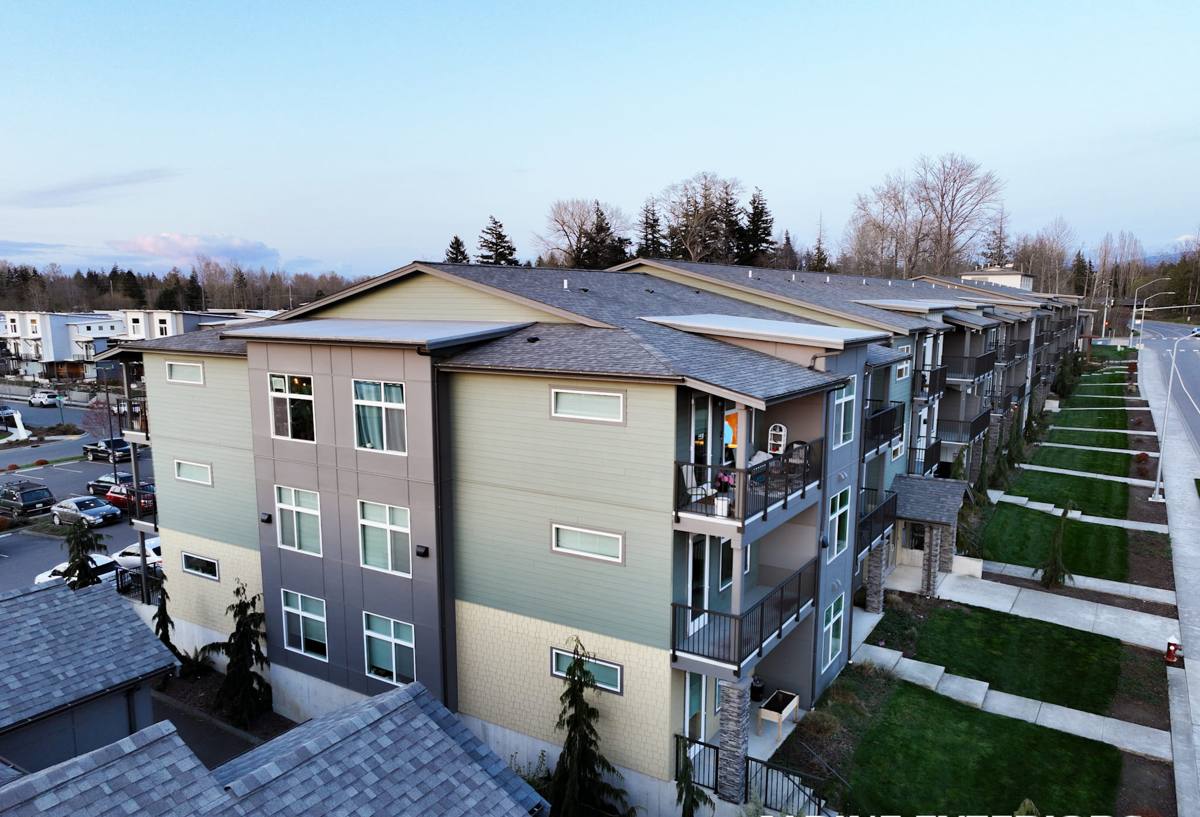
The Damage Patterns We See Most in Birch Bay
Salt-Accelerated Fastener and Seam Failure
Exposed or under-driven fasteners corrode faster near the water. Once a fastener starts to rust and back out, water gets behind the siding at that point, and the damage spreads outward from a single nail hole into a soft, discolored patch of board. We check fastener condition closely on every Birch Bay repair call, because a few compromised fasteners are often the real cause behind a "mystery" soft spot a homeowner noticed somewhere else on the wall.
Moss and Organic Growth in Shaded, Damp Corners
Long moss seasons mean north-facing walls, areas under eaves with poor airflow, and anything shaded by trees or neighboring structures stay damp for extended stretches. Moss and algae hold moisture against the siding surface, which is exactly the condition that breaks down caulking, softens edges on lower-grade materials, and keeps paint or finish from doing its job. Repair in these zones has to address the moisture source, not just clean off the growth.
Wind-Driven Rain Intrusion at Laps and Trim
Without much to block prevailing wind off the water, rain in Birch Bay often hits siding at an angle instead of falling straight down. That pushes water into lap joints, trim intersections, and butt joints that would stay dry in a more sheltered location. Repairs in exposed, water-facing sections need tighter attention to flashing and joint treatment than the same repair would require on a protected wall.
What a Correct Siding Repair Actually Involves
A repair that just replaces the visibly damaged board and moves on is a repair that's likely to fail again in the same spot. On a Birch Bay home, we treat every repair call as three separate questions:
- What failed? Identify the actual damaged material — not just the obvious crack or stain, but how far moisture has traveled behind it.
- Why did it fail here? Determine whether the cause is a fastener issue, a flashing gap, trapped moisture from poor airflow, or simple age and exposure.
- What stops it from happening again? Address the underlying cause — not just swap the board — so the same section isn't back on our schedule in two years.
That means checking the water-resistive barrier and flashing behind the removed section, confirming proper clearance and drainage where siding meets trim or foundation, and using fasteners and joint treatment rated for the exposure that section of wall actually sees. On a coastal property, skipping that step is how a "quick patch" turns into a callback.
Repair Checklist for a Birch Bay Home
- Inspect surrounding boards, not just the damaged one — salt and moisture damage rarely stays isolated
- Check fastener condition and replace corroded fasteners with appropriately rated hardware
- Verify the water-resistive barrier and flashing are intact behind the repair area
- Confirm proper joint and edge treatment sized for wind-driven rain exposure, not just standard rainfall
- Match color and profile so the repair doesn't stand out against factory-finished siding
- Address any moss or organic growth at the source — grading, airflow, or overhanging vegetation — not just the surface
Repair vs. Replacement: How We Make the Call
Not every damaged section needs full replacement, but not every repair is worth doing either. We look at how much of the wall is affected, how the existing material is holding up overall, and what's driving the damage before recommending a path.
| Situation | Typical Recommendation | Why |
|---|---|---|
| Isolated damage, siding otherwise sound, cause identified and fixable | Targeted repair | Localized fix resolves the issue without disturbing healthy material |
| Repeated failures in the same zone (e.g., same wall, multiple seasons) | Repair plus root-cause correction (flashing, drainage, airflow) | A repeated pattern means something behind the siding needs fixing, not just the board |
| Widespread softening, warping, or finish failure across multiple walls | Full or partial re-side, typically in James Hardie fiber cement | Patchwork repairs on failing material don't hold, and mixed-age sections weather unevenly |
| Older non-fiber-cement siding (older wood, some engineered panels) with coastal exposure damage | Case-by-case; often replacement makes more long-term sense than repeated patching | Materials not built for salt-air exposure tend to need repair again in the same areas |
Why We Only Repair With — and Recommend — James Hardie
When we're matching a repair into existing siding, we work with whatever's already on the house. But when a homeowner is deciding what to replace a failing section with, or planning ahead for a fuller re-side, our answer is James Hardie fiber cement, and we don't install anything else. In a coastal environment like Birch Bay, that's not a brand preference — it's a materials decision.
Fiber cement doesn't absorb moisture the way wood-based products can, and it isn't vulnerable to the rot and soft-spot cycle that shows up on organic siding materials exposed to constant damp and salt air. James Hardie's ColorPlus factory finish is baked on and formulated to resist the fading and chalking that salt air and UV exposure cause faster in this location than inland. Hardie's HZ5 product line in particular is engineered for climates with exactly this kind of moisture and weather exposure, which makes it the right match for a Birch Bay wall facing the water rather than a general-purpose product we'd use anywhere.
We won't install LP SmartSide, vinyl, Cemplank, Allura, primed spruce, or cedar on a new install or full re-side, even though each has its place in the market. In a high-exposure environment like this one, the trade-offs — moisture sensitivity, maintenance burden, or finish longevity — are exactly the failure patterns we get called out to repair. Standardizing on one product line lets us know precisely how it behaves over time, what correct installation looks like, and how to back it with a real transferable warranty instead of guessing.
Why Local Experience in Birch Bay Matters
A crew that mostly works inland jobs may not think twice about fastener spec, joint sealing, or moss-prone shaded corners — because inland, those things matter less. A crew that regularly works Birch Bay knows which walls take the worst of the wind off the water, which corners hold moss longest, and which repair shortcuts come back to bite a homeowner within a season or two. That local pattern recognition is the difference between a repair that lasts and one that's a temporary patch.
We also know the practical side of working this area — houses close to the water often have limited access for equipment staging, and homes right along the bay can have microclimates that differ meaningfully from a house even a half-mile inland. Factoring that in up front avoids surprises mid-job.
What to Expect From Our Repair Process
- On-site inspection. We look at the damaged area and the surrounding siding, not just the spot you called about, to catch related issues before they become separate repair calls.
- Root-cause diagnosis. We identify whether the failure is from fasteners, flashing, moisture, or general wear, and explain what we find in plain terms.
- Written scope and estimate. You get a clear explanation of what needs to happen and why, before any work starts.
- Repair or replacement, done to spec. Matching material and finish where possible, correcting underlying causes, and using fasteners and joint details rated for coastal exposure.
- Final walkthrough. We confirm the repair blends in and the underlying issue is actually resolved, not just covered.
Signs You Likely Need Siding Repair Now
- Soft or spongy spots when you press on the siding, especially near the bottom of walls or around trim
- Visible rust streaks running down from fastener heads
- Persistent moss or dark staining that returns shortly after cleaning
- Warping, buckling, or gaps opening up at seams and joints
- Peeling or chalking finish concentrated on water-facing or north walls
- Interior signs like discoloration on walls near exterior siding damage
If you're seeing any of these on a Birch Bay property, it's worth having someone look before winter's wind-driven rain finds its way further in. If you'd like a second opinion or a straight answer on repair versus replacement, we're happy to take a look — the estimate is free, and there's no pressure either way.