 Ferndale Siding
 New-Construction Windows in Kendall: Why the Install Method Matters
Kendall sits out in the Whatcom County countryside, north and east of Ferndale, where new homes, additions, and shop-to-house conversions are common. If you're building new or opening up exterior walls for an addition, you're not dealing with a "replacement window" job — you're dealing with a new-construction window install, and the two are not interchangeable. New-construction windows have a nailing fin around the perimeter of the frame that gets fastened directly to the wall sheathing and integrated into the weather-resistive barrier (WRB) before siding goes on. Done right, that fin becomes part of the drainage plane for the whole wall. Done wrong, it becomes the single most common source of hidden water intrusion in a new build.
We install new-construction windows as part of full siding and exterior envelope work across Ferndale and the surrounding communities, including Kendall. Because we're doing the window flashing and the siding on the same wall, we see firsthand how often those two trades get treated as separate jobs elsewhere — and how much trouble that causes a few years down the road.
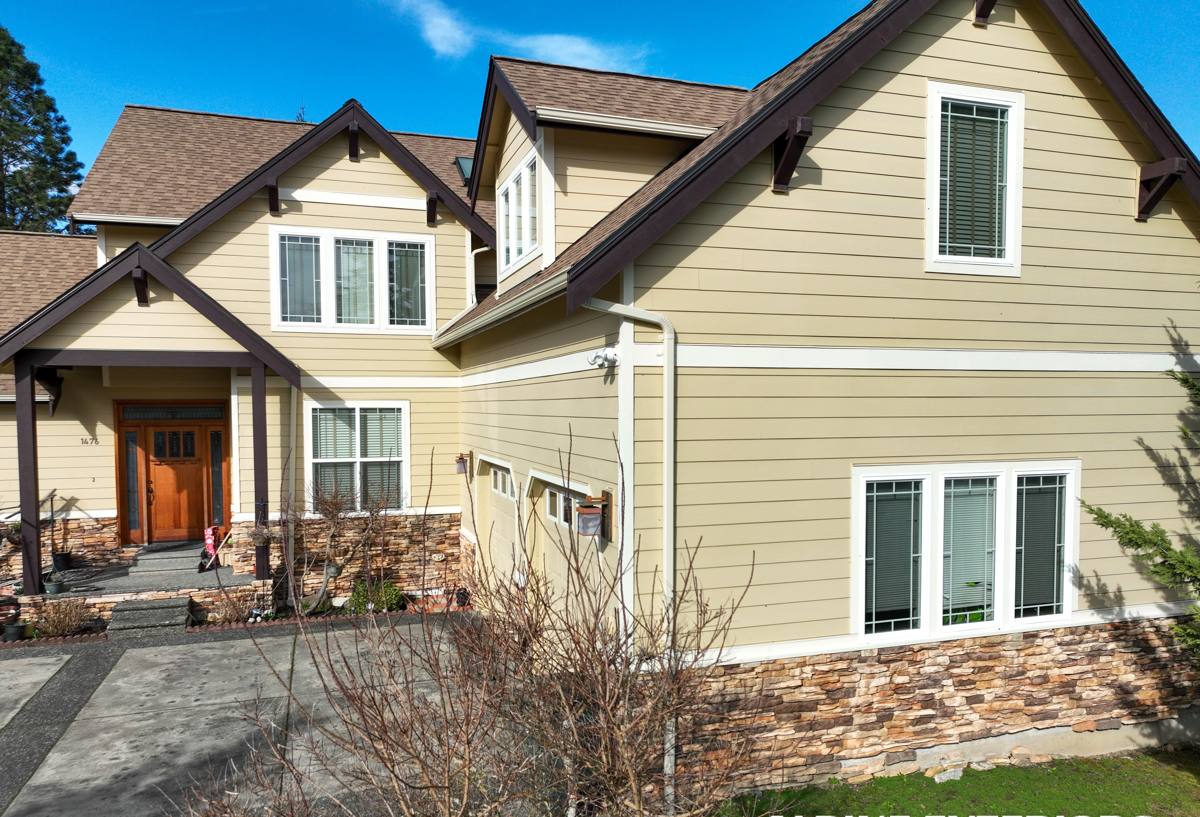
What Kendall's Climate Demands from a Window Install
Whatcom County weather isn't dramatic, but it's relentless. Long stretches of driving rain off the Strait of Georgia and Bellingham Bay push moisture sideways into wall assemblies, not just straight down. Salt-laden marine air corrodes unprotected fasteners and accelerates wear on cheap trim and hardware. And the extended damp season — often eight or nine months of the year with little sun exposure on north- and west-facing walls — grows moss and mildew wherever water is allowed to sit instead of drain.
None of that is unique to Kendall, but it's a real factor for any home in this part of the county, and it changes how a window opening should be built:
- Sill pans that slope outward and drain past the WRB, not into the framing
- Flashing tape sequenced shingle-style — top piece always lapping over the one below it
- A continuous WRB with no gaps, staples, or unsealed penetrations around the rough opening
- Corrosion-resistant fasteners rated for coastal/marine exposure
- Head flashing or drip caps that actually kick water away from the wall, not just decorative trim
Skip any one of these and the window itself can be flawless while the wall around it still rots.
What a Correct New-Construction Install Actually Involves
Sequencing, Not Just Sealant
A lot of window problems in newer homes aren't the window's fault — they're a sequencing problem. Sealant is not a substitute for proper flashing order. The right sequence, generally, runs: sill pan flashing first, then the window set into the pan, then side flashing over the nailing fin, then head flashing lapped over the top of the side pieces, then the WRB lapped over all of it. Every layer sheds water onto the layer below, all the way down to the sill pan and out.
Rough Opening Accuracy
New-construction windows are sized to a specific rough opening with defined gap tolerances for shimming and flashing. Openings that are too tight compress the frame and can bind hardware; openings that are too loose leave excess gap that gets packed with foam or caulk instead of properly flashed and insulated. We check rough openings against the actual window specs before anything gets set, not after.
Where Siding and Windows Meet
This is the step that gets missed most often when window installers and siding crews are different companies on different schedules. The siding has to lap correctly over the flashing at the window's edges, with proper reveal and no reverse-lapped seams that catch water. Because we handle both trades, the window flashing and the siding trim get built as one continuous water-management system instead of two jobs that happen to touch each other.
Choosing the Right Window for a Kendall Build
Material choice matters less than installation quality, but it's still worth getting right, especially given the coastal moisture and UV cycling this area sees year-round.
| Frame Material | Moisture/Coastal Performance | Maintenance | Typical Cost Position |
|---|---|---|---|
| Vinyl | Good — won't rot or corrode; seams need quality welds | Low — occasional cleaning | Lower |
| Fiberglass | Very good — dimensionally stable, resists warping in wet/dry cycles | Low | Mid to upper |
| Wood-clad | Good exterior protection if cladding is intact, but any breach exposes wood core to rot | Higher — cladding seams and interior wood need monitoring | Upper |
| Aluminum | Corrosion-resistant coatings needed near salt air; conducts cold | Low | Varies |
We don't push homeowners toward one brand or material across the board. What we do insist on is a window with a documented, testable installation method — a fin design and manufacturer instructions we can flash correctly for this climate. A great window installed on a bad flashing sequence will still leak; a modest window installed correctly will outlast it.
Our Process for a Kendall New-Construction Window Job
- Site visit and rough opening review — we check framing, header sizes, and opening dimensions against the window specs before ordering anything.
- Product selection — we walk through frame material, glass package, and grille or hardware options based on your budget and the wall's exposure (a west-facing wall catching driving rain gets treated differently than a sheltered elevation).
- WRB and flashing installation — sill pan, side flashing, head flashing, and WRB lap, done in the correct shingle order before the window ever gets set.
- Window set and fastening — shimmed square and plumb, fastened per manufacturer spec, checked for square by measuring diagonals, not just eyeballing the reveal.
- Siding tie-in — trim and siding built out from the flashing so water sheds past the window on every side, not into it.
- Final check — operation, weatherstripping contact, and a visual walk of every flashing lap before we call it done.
Signs a Previous Install Was Rushed
If you're inheriting a partially finished build or inspecting work done by someone else in the Kendall area, watch for these:
- Caulk bead around the exterior frame with no flashing tape visible beneath it
- WRB that stops at the window opening instead of lapping over the flashing
- No visible sill pan or sloped sill flashing under the window
- Siding butted directly against the window trim with no drainage gap
- Staples or fasteners left exposed through the WRB near the opening
- Windows set noticeably out of square, causing hardware to bind
New-Construction Windows vs. Replacement Windows
It's worth being clear about this distinction since the terms get used loosely. If you're building new, adding a room, or removing siding down to the sheathing anyway, a new-construction window with a nailing fin is almost always the right call — it gives you a full flashing system tied into fresh WRB. If you're keeping existing siding and trim intact and only swapping the window unit itself, that's a retrofit or "pocket" replacement window, which fits into the existing frame and relies on the surrounding wall's flashing already being sound. We do both kinds of work, but they're different jobs with different failure points, and we'll tell you honestly which one your project actually calls for rather than defaulting to whichever is easier to sell.
Why a Crew That Already Works Kendall Matters
Kendall isn't a subdivision with identical production-built homes — it's a mix of older farmhouses, newer custom builds, additions, and outbuildings converted to living space, often on larger lots with more wall exposure to weather than a tightly packed neighborhood. A crew that regularly works this specific stretch of Whatcom County has already seen how the local rain patterns, tree cover, and lot orientation affect where water actually collects on a wall — information that shapes decisions like where extra flashing lap or a slightly more aggressive sill slope is worth the effort. That's not something you get from a crew that's only installed windows in tighter, more sheltered subdivisions closer to town.
We also don't treat the window and the siding as two separate scopes bid by two separate people. When the same crew flashes the opening and hangs the siding, there's no gap in accountability if something doesn't line up — no pointing between trades about whose lap should have gone where.
What to Expect After Installation
A correctly installed new-construction window shouldn't need much attention. Keep an eye on caulk lines at the trim edges over the first couple of winters — sealant is a backup layer, not the primary defense, but a failed bead is worth catching early. In Kendall's damp shoulder seasons, it's also worth a quick look at north-facing sills and trim for any early moss or mildew buildup, since that's often the first visible sign that water is sitting somewhere it shouldn't. Beyond that, operate the hardware occasionally and keep weep holes and drainage tracks clear of dirt and debris so the window can do the drainage job it was built to do.
If you're planning new construction, an addition, or a full siding tear-off in the Kendall area and want the window and siding work handled as one properly sequenced job, we're happy to come take a look. We'll give you a straightforward, no-pressure estimate based on your actual walls and openings — just fill out the form below.