 Ferndale Siding
 Birch Bay Sits Right at the Edge of What Siding Can Handle
Birch Bay is one of the more demanding spots in Whatcom County to keep a house looking good. Homes here sit close to open water, which means salt-laden air moving across the siding almost constantly, wind-driven rain that hits walls sideways instead of falling straight down, and a long stretch of the year — often October through April — where surfaces stay damp enough for moss and algae to take hold. None of that is unusual for a Pacific Northwest coastal community, but it does mean siding installed to a generic standard tends to show its age here faster than the same product would a few miles inland toward Ferndale proper.
That combination — salt, wind, and sustained moisture — is exactly what siding installation for this area needs to be engineered around, not just tolerant of. Caulk joints that would hold up fine on a sheltered lot can fail early when they're taking direct salt spray. Fastener patterns that pass code inland can work loose under sustained coastal wind loading. And any siding product with a paper or wood-fiber core is going to have a shorter, harder life once it's absorbing that kind of moisture cycle year after year.
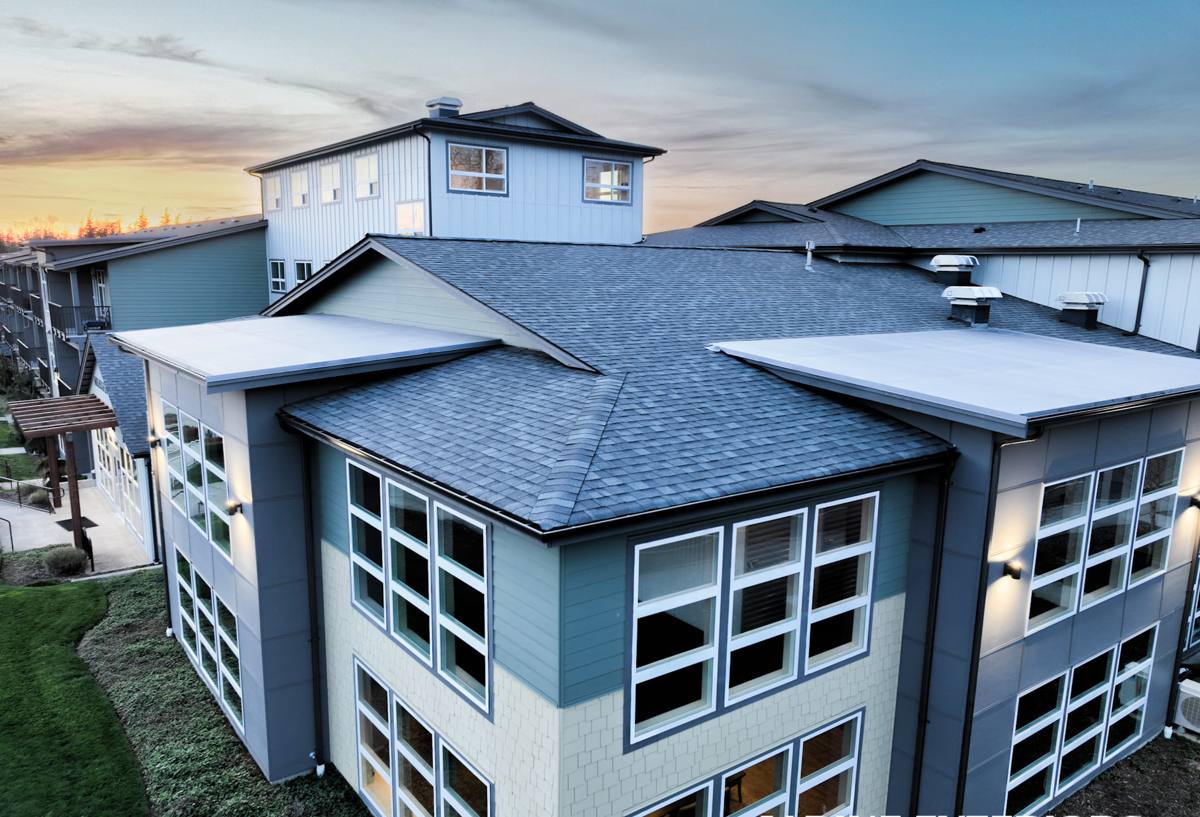
What "Correct" Installation Actually Means on a Waterfront Lot
A lot of siding failures aren't product failures — they're installation failures. The material gets blamed, but the real problem is what's underneath it or how it was fastened. On a Birch Bay home, a handful of details matter more than they would somewhere drier and calmer:
Weather-Resistive Barrier and Flashing
Every seam, window, door, and penetration needs a properly lapped weather-resistive barrier and correctly integrated flashing underneath the siding — installed so water is always directed out and down, never trapped behind the cladding. On a house catching wind-driven rain off the bay, a missed flashing detail doesn't just cause a stain; it can drive moisture into the wall assembly for years before anyone notices.
Rainscreen Ventilation Gap
A ventilated gap between the siding and the weather barrier lets any moisture that does get past the outer layer dry out instead of sitting against the sheathing. This is standard practice for a reason, and it matters more in a marine environment than almost anywhere else in the region.
Fastening for Wind and Salt Exposure
Fastener spacing, embedment, and corrosion resistance all need to account for sustained coastal wind loading — not just meet the bare minimum. Using the wrong fastener type near open water is a common shortcut that shows up as staining and loosening within a few years.
Why We Install Only James Hardie Fiber Cement Here
We don't install vinyl, LP SmartSide, primed spruce, cedar, or other fiber cement brands, and Birch Bay is one of the clearest examples of why. Vinyl expands and contracts more with temperature swings and can become brittle over time in constant wind exposure; wood-based products, no matter how well engineered, still have an organic core that's vulnerable to sustained moisture and, eventually, rot. In a location where the siding is dealing with salt air and damp conditions for a large part of the year, we'd rather stand behind one product system we know performs than mix and match based on budget.
James Hardie fiber cement is non-combustible, doesn't have a wood core to break down, and holds paint and factory finish far more consistently over time than wood-based alternatives. The ColorPlus factory finish is baked on under controlled conditions rather than field-applied, which matters a lot in an area where field-applied paint has to cure through unpredictable coastal weather.
HardieZone HZ5 for This Climate
Hardie engineers its products by climate zone, and Whatcom County — including Birch Bay — falls into the HZ5 zone, built for regions with freeze-thaw cycles and sustained moisture rather than the hot, humid HZ10 zone used in the South. The HZ5 formulation is specifically designed to resist moisture-related damage in exactly the conditions this area produces, which is a real engineering difference, not a marketing label.
Our Installation Process
Every job starts with a walk of the existing exterior, not just a measurement. On a Birch Bay home we're specifically checking for prior water intrusion, soft sheathing, existing flashing condition, and how exposed each elevation is to prevailing wind and salt spray, since that affects fastening and detailing decisions before a single piece of siding goes up.
| Phase | What Happens | Why It Matters Here |
|---|---|---|
| Assessment | Full exterior inspection, moisture check at trim and penetrations | Catches hidden rot or prior water damage before it's covered over again |
| Tear-off / prep | Remove old siding, inspect and repair sheathing as needed | Coastal moisture cycles often hide sheathing damage behind old cladding |
| Weather barrier | Install and properly lap weather-resistive barrier, integrate flashing | The single biggest factor in long-term water resistance |
| Rainscreen gap | Furring or engineered rainscreen product installed | Lets any incidental moisture dry instead of sitting against the wall |
| Siding installation | Hardie panels/lap installed to manufacturer spec with corrosion-resistant fasteners | Correct fastening holds up under sustained coastal wind loading |
| Trim and detail work | Corners, window and door trim, caulking at transitions only | Minimizes reliance on caulk, which is the first thing to fail near salt air |
| Final walkthrough | Inspection of all seams, flashing, and fastening | Confirms the install will actually perform in this environment |
Tear-Off vs. Overlay
We generally recommend a full tear-off rather than siding over existing material, especially on homes this close to the water. Overlaying hides the wall assembly instead of letting us inspect and correct it, and in a marine environment that's exactly the assembly most likely to have a problem worth finding before it's sealed up again.
What Drives the Cost of a Birch Bay Siding Job
Pricing for siding installation depends on the specifics of the home, and we'll always walk a property before giving a real number. In general, the factors that move the price on a Birch Bay job the most are:
| Factor | Why It Affects Cost |
|---|---|
| Wall assembly condition | Rot or sheathing damage found during tear-off adds repair scope |
| Home size and elevation exposure | More wall area and more sides directly exposed to wind and spray increase material and detail work |
| Existing siding removal | Vinyl and wood removal, disposal, and hauling add labor time |
| Trim and detail complexity | Homes with more windows, dormers, or architectural detail take longer to flash and trim correctly |
| Product profile and color | Lap width, panel style, and ColorPlus color selection affect material cost |
| Site access | Waterfront and bluff-adjacent lots can complicate staging and scaffolding |
Problems We Commonly See on Existing Birch Bay Siding
When we're called out to look at an older installation in this area, a few issues come up repeatedly:
- Moss and algae staining on north-facing and shaded walls that never fully dry between rain events
- Caulk joints that have cracked or pulled away at trim and window edges from years of salt exposure and UV
- Corroded or loosened fasteners on walls facing the prevailing wind
- Soft or rotted sheathing discovered only after old siding is removed, from years of undetected moisture behind the wall
- Faded or chalky paint on field-painted wood siding that was never designed for this much sun and salt exposure
Almost all of these trace back to either the wrong product for a marine environment or installation shortcuts around flashing, fastening, or ventilation — not simply "old age."
What to Look for When Hiring a Contractor in This Area
Siding installation is one of those trades where the visible result can look fine for a year or two even if the underlying work is wrong. A few things worth checking before you hire anyone for a Birch Bay project:
- Ask specifically how they handle flashing and the weather-resistive barrier — a vague answer is a red flag
- Ask whether they install a rainscreen ventilation gap as standard practice, not an upsell
- Ask about fastener type and spacing for coastal wind exposure specifically
- Ask if they've worked on homes in Birch Bay or similarly exposed Whatcom County waterfront lots before
- Ask what manufacturer warranty applies and whether it's tied to certified installation practices
- Get a clear scope in writing — tear-off, sheathing repair contingencies, and trim detail should all be spelled out before work starts
Living With Hardie Siding After Installation
One of the practical advantages of a correctly installed James Hardie system in a place like Birch Bay is how little ongoing maintenance it asks for compared to wood-based siding. There's no repainting cycle to keep up with, since the ColorPlus finish is factory-applied and warrantied separately from the substrate. Periodic rinsing to keep salt residue and light moss growth from building up is worth doing, and it's worth checking caulked transitions occasionally, but you're not fighting the same battle against rot and repainting that wood or engineered wood siding requires in this climate.
If you're planning a siding project on a Birch Bay home, we're happy to walk the property, look at what's there now, and give you a straight assessment of what it actually needs — no pressure, no inflated scope. Reach out through the form below to set up a free estimate.