 Ferndale Siding
 Building on the Water at Sandy Point Comes With Its Own Rules
Sandy Point sits right up against the Strait of Georgia, and that location shapes everything about how a new home should be built there. Wind comes off the water with force, rain arrives sideways more often than straight down, and salt in the air works on metal and finishes year-round. If you're framing a new home or a major addition in Sandy Point, the windows you choose and how they're installed matter more than they would a few miles inland. This page covers new-construction window installation specifically for that setting: what the climate demands, what a correct installation actually involves, and how our process works from rough opening to finished wall.
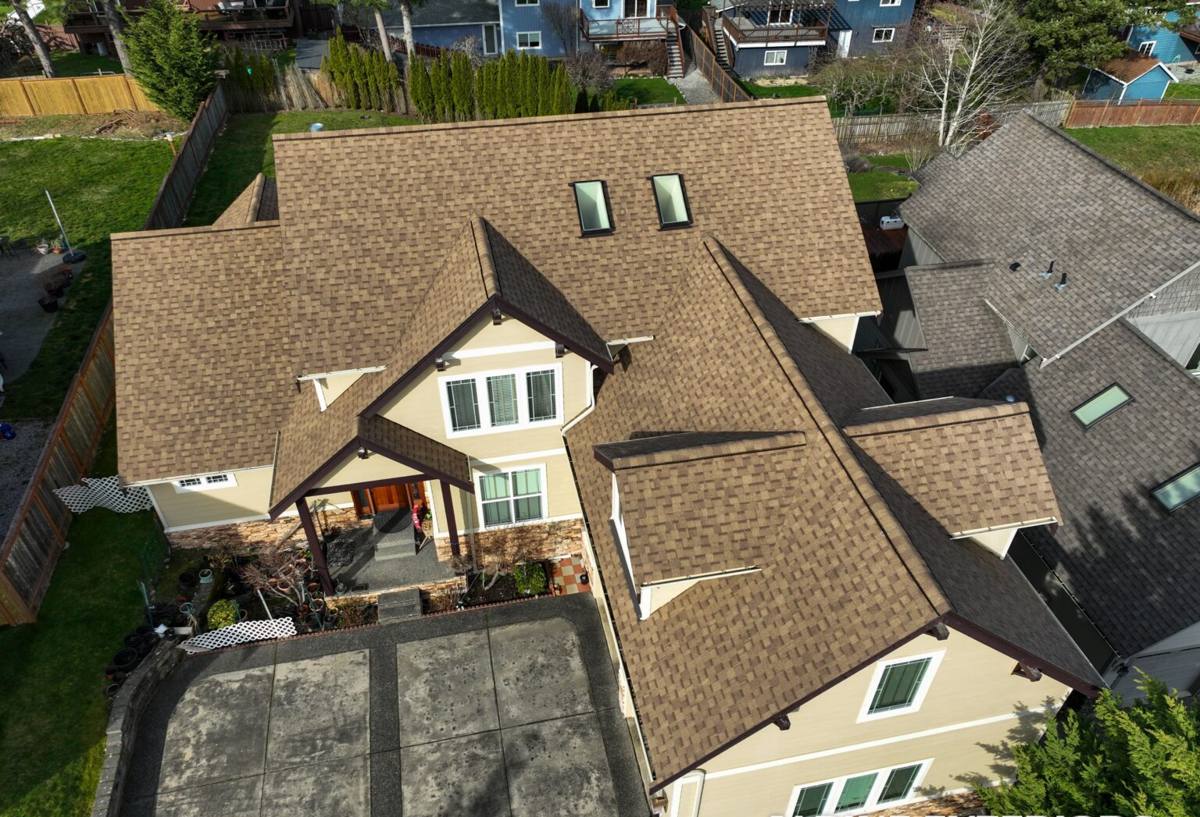
New-Construction vs. Replacement: Why the Distinction Matters
New-construction windows are built with a nailing flange (also called a nail fin) that gets fastened directly to the wall sheathing before the weather-resistive barrier and siding go on. This is different from a pocket or insert replacement window, which fits inside an existing frame after the fact. On a new build, we get to control the entire water management system around the window — the flashing, the sill pan, the integration with the house wrap — instead of working around what's already there.
That's actually the advantage of new construction: done right, the window becomes part of a continuous drainage plane rather than a patch in one. Done wrong, it becomes the single most common source of water intrusion in a new home. In a place like Sandy Point, where wind-driven rain tests every seam, there's very little room for shortcuts at this stage.
What Sandy Point's Climate Actually Demands
Whatcom County as a whole gets a lot of moisture, but Sandy Point's direct exposure to the water adds a few specific stresses that inland Ferndale homes don't deal with as much:
- Salt air corrosion — airborne salt accelerates corrosion on unprotected fasteners, weep hardware, and lower-grade metal components over years of exposure.
- Wind-driven rain — storms off the strait push rain horizontally into wall assemblies, which puts far more pressure on flashing and sealant joints than a typical vertical rain event.
- Long moss season — extended damp periods mean any spot where water collects instead of shedding will grow moss and hold moisture against the building longer than it would in a drier climate.
- Wind loading — open water exposure can mean higher sustained wind pressure on window assemblies than a sheltered inland lot.
None of this means Sandy Point needs exotic products. It means the frame material, hardware, and installation sequence all need to be chosen with these stresses in mind, rather than defaulting to whatever's cheapest or easiest to source.
Choosing a Frame Material for a Marine Environment
There's no single "right" window brand — there's a right set of trade-offs for your budget and your exposure. Here's how the common frame materials generally hold up in a salt-air, high-moisture setting like Sandy Point:
| Frame Material | Salt-Air / Corrosion Behavior | Maintenance | Typical Cost Position |
|---|---|---|---|
| Vinyl | Doesn't corrode; UV and heat cycling over decades can affect seal performance | Low — occasional cleaning | Lower to mid |
| Fiberglass | Very stable dimensionally, resists corrosion well, holds paint/finish longer near salt air | Low to moderate | Mid to higher |
| Aluminum | Conducts cold and can corrode faster near salt air unless properly coated/anodized | Moderate — coating needs monitoring | Mid |
| Wood-clad | Good performance if the cladding and joints stay sealed; failure points are where cladding meets frame | Higher — requires attentive upkeep | Higher |
We're not going to tell you one product is "bad" — every material above is used successfully in coastal Whatcom County. What we will tell you honestly is which ones create more long-term maintenance obligations in a salt-air setting, and we'll walk you through that trade-off before you commit to a package, not after installation when it's too late to change course.
Glass Package Considerations
For new construction at Sandy Point, we typically recommend dual-pane, low-E glass with an argon fill as a baseline, with attention to the condensation resistance rating rather than just the U-factor. In a marine climate with high humidity swings, a window that meets energy code on paper but condenses heavily in winter creates its own moisture problem at the sill — which defeats the purpose of a tight new building envelope.
Flashing and Water Management: Where Failures Actually Happen
Almost every window leak we're called to diagnose on other people's work traces back to flashing sequence, not the window itself. On new construction, the order of operations is what protects the wall for the next 30-plus years:
- Rough opening is prepped, squared, and checked for level before anything else happens.
- A sloped sill pan is installed at the bottom of the opening so any water that gets past the window sheds outward, not into the wall cavity.
- Weather-resistive barrier (WRB) is lapped correctly at the sides and integrated with the sill pan.
- The window is set, shimmed level and plumb, and fastened through the nailing fin per the manufacturer's schedule.
- Flashing tape is applied at the sides first, then the head flashing last, so every layer laps over the one below it — never the reverse.
- Head flashing or a drip cap is integrated so water is directed out and away from the top of the window before the siding goes on.
- Interior and exterior sealant joints are completed at the appropriate stage, with backer rod used where joints are too wide for sealant alone.
Skipping or reversing any of these steps — especially lapping the head flashing under the side flashing instead of over it — can turn a brand-new home into one with a hidden leak that doesn't show up until there's staining, rot, or moss growth years later. In a driving-rain climate like Sandy Point's, this sequence isn't optional detail work; it's the whole job.
Our New-Construction Window Installation Process
Because we're a siding contractor first, we look at window installation as part of the whole exterior envelope, not an isolated trade. That matters because the window-to-siding transition is one of the more common failure points when different crews handle each piece without coordinating.
Our process on a Sandy Point new-construction job typically looks like this:
- Review the window schedule and glass package against the home's orientation and exposure to prevailing wind and rain direction.
- Confirm rough openings against actual window unit dimensions before delivery — catching sizing issues before install day, not during it.
- Install using the sill pan and flashing sequence above, documented as we go.
- Coordinate directly with the siding install so the WRB, flashing, and siding trim all integrate as one continuous water plane instead of being installed piecemeal.
- Final check of every unit for level, square, smooth operation, and a sealed, weathertight perimeter before we call the job done.
Cost Factors on a New-Construction Window Project
Every project is different, but the line items that move the number most are fairly consistent:
| Factor | Why It Affects Cost |
|---|---|
| Number and size of openings | More units and larger glass area mean more material and labor hours |
| Frame material chosen | Vinyl, fiberglass, aluminum, and wood-clad carry different material costs |
| Glass package (Low-E, argon, tempered/safety glass where required by code) | Performance upgrades add cost per unit |
| Wall height and access | Second-story or hard-to-reach openings require more staging and time |
| Coordination with siding trade | Bundling window and siding work with one crew can reduce scheduling gaps and redundant flashing work |
We'll walk through these factors on your specific plans before giving you a number — broad ranges without seeing the actual window schedule and elevations don't do you much good.
A Homeowner's Checklist for New-Construction Window Decisions
- Confirm which direction your home faces relative to prevailing wind and rain off the water, and prioritize better sealing/flashing detail on that exposure.
- Ask specifically how sill pans and flashing lap sequence will be handled — not just what brand of window is being installed.
- Choose fasteners and hardware rated for coastal or corrosion-prone environments where visible or exposed.
- Get the condensation resistance rating for your glass package, not just the U-factor.
- Make sure whoever installs your windows is also coordinating with (or is) the siding crew, so the transition between the two isn't left to chance.
- Keep copies of your window specs and installation documentation for warranty purposes.
Why Local Experience in Sandy Point Matters
A crew that's worked in Sandy Point before already knows how exposed a given lot is likely to be, how Whatcom County's permitting and inspection process runs for new construction, and which details tend to get missed by installers who mostly work sheltered, inland sites. That familiarity shows up in small decisions — where to add extra flashing lap, which orientation needs the most attention, how to sequence work around the wet stretches of the year — that don't show up on a spec sheet but do show up in how the house performs ten years from now.
If you're planning new-construction windows for a home in Sandy Point, we're happy to walk your plans, talk through material options honestly, and put together a straightforward estimate — no pressure, no upsell script. Fill out the form below and we'll get back to you.