 Ferndale Siding
 Siding Installation Built for Sumas
Sumas sits out at the eastern edge of the area we serve out of Ferndale, in the flat farmland near the Canadian border rather than along the coast. That matters, because a siding installation done right in Sumas isn't quite the same job as one done right on a wind-exposed lot closer to Bellingham Bay. The broader Whatcom County coastline deals with salt air working on fasteners and finishes; Sumas trades that specific problem for a wetter, lower-lying inland climate that holds moisture against a wall longer after a storm passes. Driving rain still comes in sideways here, and the moss season still runs long across shaded and north-facing walls. The installation details that matter shift a little by location, but the standard doesn't: siding has to be installed correctly for the conditions actually in front of it, not for conditions on a spec sheet written somewhere else.
We install James Hardie fiber cement siding exclusively, and this page is specifically about what a correct Hardie installation looks like on a Sumas home — not a general overview of siding options, and not a broader pitch for every exterior trade we offer.
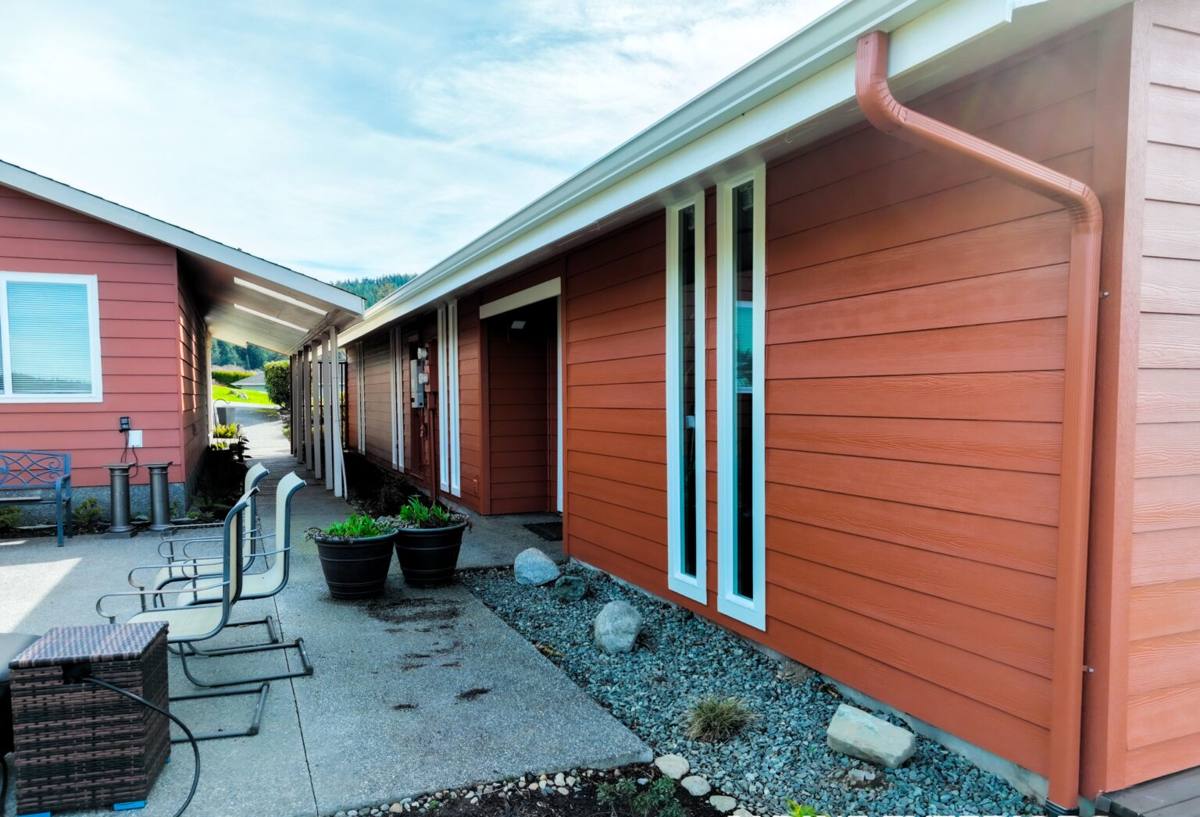
What a Sumas Installation Has to Account For
Wind-Driven Rain, Not Just Rainfall
A lot of siding failures in this region have little to do with how much rain falls in a year and a lot to do with the angle it arrives at. Storms push rain sideways into laps, corners, and butt joints instead of letting it run straight down a wall. An installer has to plan for that during the install itself — overlap, flashing, and fastener placement all have to assume water will hit the wall from an angle, not just from above.
Low Ground, Slower Drying
Sumas sits on flat, low-lying valley ground, and that terrain doesn't drain or dry out as quickly as a hillside lot does. During installation, that changes how much clearance we build in between the bottom edge of the siding and the ground or a hard surface, and how carefully we detail the bottom course so it isn't sitting in standing moisture after every storm.
A Long Moss and Mildew Season
Mild temperatures and sustained dampness mean moss and mildew can take hold on shaded siding for most of the year in this part of the county. Installation choices affect how much of a foothold organic growth gets — tight, properly lapped joints and a wall that can actually dry between rain events do more good than any surface treatment applied after the fact.
Cold Snaps and Freeze-Thaw
Being further inland and closer to the border, Sumas sees harder frosts and more freeze-thaw cycling than milder spots nearer the water. Water that gets past a poorly installed joint and then freezes expands and forces that joint open further. Correct installation is what keeps water from getting behind the siding in the first place, which matters more here than it would in a climate with a shorter cold season.
Installed Right vs. Installed Fast
Most of the siding problems we get called out to inspect in this area didn't start with bad material — they started with a shortcut taken during installation that wasn't visible until a wet season or two had passed. The table below shows where those shortcuts tend to happen and what it costs a homeowner when they do.
| Installation Detail | Common Shortcut | What It Costs Later |
|---|---|---|
| Lap and joint overlap | Minimum overlap, no sealant at butt joints | Wind-driven rain tracks behind the wall at every joint during storms |
| Ground clearance | Bottom course installed too close to grade or a walkway | Constant wicking moisture rots the bottom course from the back, invisibly, for years |
| Fastener placement | Face-nailing or missing the stud, relying on caulk to hold | Panels work loose in wind, opening gaps that water finds immediately |
| Flashing at penetrations | Caulk used in place of proper flashing around windows, vents, and light fixtures | Caulk fails years before the siding does, and the leak isn't visible until it's behind drywall |
| House wrap continuity | Gaps or tears left unpatched under the new siding | Any water that gets past the siding has nothing stopping it from reaching the sheathing |
None of this shows up on the day the job finishes. It shows up during the second or third wet season, which is exactly why we don't cut these corners regardless of how much time it saves on install day.
What Correct Hardie Installation Involves, Step by Step
Tear-Off and Substrate Inspection
We remove the existing siding down to the sheathing rather than installing over it, because covering up a wall without looking at what's underneath means covering up any hidden rot along with it. On a Sumas home, especially one that's had moisture sitting against the bottom courses for a while, this step is where we find out whether we're doing a straightforward re-side or dealing with sheathing and framing repair first.
House Wrap and Flashing
A continuous, properly lapped water-resistive barrier goes on before any siding does, with flashing integrated at every window, door, and penetration so water has a planned path off the wall instead of a random one into it. This is the layer that actually keeps a wall dry — the siding itself is the second line of defense, not the first.
Fastening to Spec
James Hardie publishes fastening requirements for a reason: correct nail or screw placement, spacing, and depth are what keep panels secured through wind events without splitting the material or leaving it loose enough to work and crack over time. We fasten to Hardie's spec, not to whatever's fastest for the crew.
Joints, Corners, and Clearance
Butt joints get backed and sealed rather than simply pushed together, corners get flashed before trim goes on, and we hold the bottom edge of the siding clear of grade, decks, and roof lines by the margin the material actually needs to shed water instead of absorbing it. On a low-lying Sumas lot, that clearance detail is one of the most important calls we make on site.
Trim, Caulking, and Finish
Factory-primed HardieTrim goes in at corners, window and door casings, and fascia, finished with a paint-grade caulk sized for the gap it's filling — not a bead of caulk asked to do the job flashing should have done. Because Hardie's ColorPlus finish is baked on at the factory, the only field painting we're doing is trim and touch-up, not the whole wall.
Installation Readiness Checklist
- Sheathing and framing checked for existing rot or soft spots before new siding goes on
- Water-resistive barrier confirmed continuous, with no gaps or unpatched tears
- Flashing installed at every window, door, and wall penetration before siding is fastened
- Fastening pattern matches Hardie's published spec for the product and exposure
- Bottom course clearance checked against grade, decks, walkways, and roof lines
- Joints and corners sealed with the correct sealant, not left to caulk alone
Why We Only Install James Hardie
We install one siding system because we'd rather stand behind a single product completely than offer a menu of options and let price alone decide. We don't install LP SmartSide, vinyl siding, Cemplank, Allura, primed spruce, or cedar. Each has a place in the broader market, but for a climate that mixes sustained moisture, wind-driven rain, and real freeze-thaw cycling, fiber cement is the material that holds its shape, its finish, and its seal the longest with the least ongoing upkeep. James Hardie's non-combustible core, factory-applied ColorPlus finish, and HZ formulations engineered for moisture and freeze-thaw exposure back that decision up, and the product warranty is transferable to a new owner if the home sells — provided the installation was done to spec, which is exactly why installation quality is the other half of this page.
How Our Process Works
Walk-Through and Measurement
We start by walking the home in person, checking existing siding, trim, and any visible moisture damage, and taking real measurements rather than estimating off a satellite photo.
Product and Color Selection
We help homeowners choose the right Hardie product line and ColorPlus color for the home's style and exposure, explaining trade-offs where they exist instead of just pointing at a sample board.
Written Estimate
You get a clear, itemized estimate before any work starts, with no pressure to sign on the spot and no vague allowances hiding the real scope of the job.
Installation and Daily Communication
Once work starts, we keep you in the loop on progress and on anything we find once the old siding comes off — particularly hidden rot, which is common enough on older Sumas homes that we plan for the possibility rather than treating it as a surprise change order.
Final Walk-Through
We finish with a walk-through of the completed job, checking joints, trim, caulking, and clearances together with the homeowner before calling it done.
Why a Crew That Already Works Sumas Matters
A crew installing siding in Sumas for the first time is guessing at things a crew that already works out here knows cold: how far the water table sits below grade after a wet fall, which wall orientations stay damp longest into spring, and how much of a weather window a given week is likely to give a crew to get flashing and house wrap on before the next front rolls through. None of that is exotic knowledge, but it's the difference between an installation that accounts for this specific inland Whatcom County setting and one that applies a generic install checklist and hopes it holds. We work this area regularly, and that experience shapes real decisions on install day, not just talking points in a sales pitch.
What Drives the Cost of a Sumas Siding Installation
| Factor | What It Affects | Sumas-Specific Note |
|---|---|---|
| Substrate condition after tear-off | Whether repair work is needed before new siding goes on | More likely on older homes where moisture has been sitting against low bottom courses |
| Wall complexity and trim detail | Labor time and material cutting | Gables, dormers, and multiple roof-to-wall transitions all add flashing work |
| Product line and profile | Material cost per square | Lap, panel, and shingle profiles all install differently and price differently |
| Site access | Staging, equipment, and labor time | Rural and agricultural lots can have longer driveways or wider staging needs than an in-town lot |
We don't quote off a generic price list, because a real number depends on what we actually find on your specific home once we're standing in front of it.
If your Sumas home is due for a new siding installation, or you want an honest opinion on whether your current siding still has good years left in it, we're glad to take a look. Use the form below to schedule a free, no-pressure estimate.