 Ferndale Siding
 Building New in Marietta Means One Chance to Get the Windows Right
Marietta sits close enough to Bellingham Bay and the Nooksack delta that new homes here take on a specific mix of weather stress: salt-laden air off the water, long stretches of driving rain, and a moss season that runs most of the fall and winter. If you're framing a new home or an addition in this pocket of Whatcom County, the window installation is one of the few parts of the build where a mistake doesn't show up right away. It shows up two or three winters later, as a stain on the drywall below a window or a soft spot in the sill. New-construction windows give you the chance to build the water management right into the wall from the start, before siding, trim, or paint cover it up.
We install new-construction windows for builders, remodelers, and owner-builders working in and around Marietta. The work is different from a retrofit or pocket replacement — there's no old frame to work around, but there's also no margin for skipping steps, because everything gets buried behind finish material for the next 30-plus years.
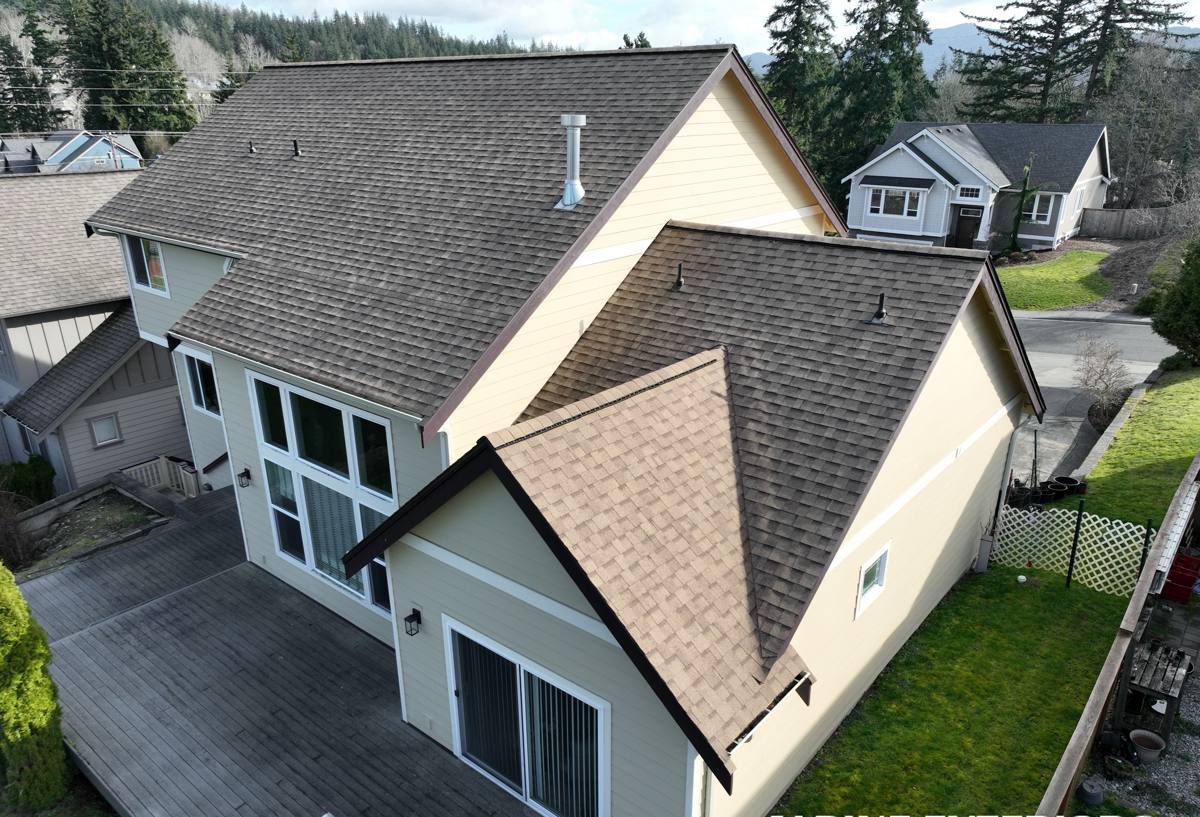
What Marietta's Climate Actually Demands from a Window Install
Three things drive how we detail a new-construction window opening out here:
Salt air and metal corrosion
Proximity to the water means airborne salt reaches fasteners, flashing, and window hardware faster than it would further inland. Cheap or mismatched metal at the window opening — the wrong flashing tape, uncoated fasteners, incompatible metals touching each other — corrodes faster here than manufacturer literature written for a national market usually accounts for.
Driving rain, not just rainfall totals
Whatcom County doesn't just get a lot of rain — wind-driven rain off the strait pushes water sideways into wall assemblies, especially on west- and south-facing elevations. A window that's "watertight" in a still-air test can still leak under wind-driven conditions if the flashing sequence isn't shingled correctly.
A long moss and biological growth season
Cool, damp conditions for much of the year mean any spot where water sits — a sill without positive slope, a poorly sealed corner, a gap behind trim — becomes a growth site for moss and mildew, and eventually a rot site. New construction gives us the chance to build in drainage and slope before that becomes a maintenance problem.
None of this means Marietta needs exotic materials. It means ordinary materials installed in the correct sequence, with attention to the details that get skipped when a crew is moving fast to keep a build schedule.
New Construction vs. Replacement: Why We Treat Them Differently
A lot of homeowners assume "installing a window" is one skill. In practice, new-construction and replacement installs solve different problems.
- New construction: the window has a nailing flange and gets integrated directly with the weather-resistive barrier (WRB), sill pan, and flashing before siding goes on. The whole assembly is built in layers, working from the bottom up.
- Replacement (pocket or full-frame): the window fits into an existing opening with finished siding already in place, so the flashing has to work around what's already there.
For a new build or addition in Marietta, you want a crew that defaults to new-construction technique — sill pan flashing, properly lapped WRB, back-dammed sills — rather than a crew that only knows the replacement side of the trade and treats new openings the same way.
What a Correct New-Construction Window Install Involves
The window unit itself is often the least important variable in whether an opening stays dry. The sequence around it matters more. Here's the order we follow on every opening:
- Rough opening check: confirm the opening is square, plumb, and sized correctly before anything else happens.
- Sill pan flashing: a sloped, back-dammed pan at the sill so any water that gets past the window sheds outward, not into the framing.
- WRB integration: the housewrap or building paper is cut, lapped, and taped so water sheds over each layer like shingles — never the reverse.
- Jamb and head flashing: flashing tape or metal at the sides and top, sequenced so the head flashing laps over the WRB above it.
- Window set: unit shimmed level and plumb, fastened per the manufacturer's schedule, checked for square by measuring both diagonals.
- Sealant at the right layer only: caulk is a backup, not the primary water barrier — over-caulking a window can trap water inside the wall instead of keeping it out.
- Insulation and air sealing: low-expansion foam or backer rod around the perimeter, avoiding bowed jambs from over-filled foam.
- Interior and exterior trim: installed last, after the water management layers are confirmed complete.
Skipping or shortcutting any one of these steps is usually invisible at final walkthrough. It shows up later — which is exactly why we don't shortcut them.
Frame and Glass Options for a Marietta Build
New construction gives you a genuine choice of frame material, since you're not constrained by an existing opening. Here's how the common options hold up against salt air, rain, and moss exposure specifically:
| Frame Material | Salt Air / Corrosion Resistance | Moisture & Rot Risk | Maintenance |
|---|---|---|---|
| Vinyl | Good — won't corrode | Low, but hardware fasteners still need corrosion-resistant grade | Low; occasional cleaning |
| Fiberglass | Very good — dimensionally stable, resists pitting | Low | Low; holds paint well if a custom color is wanted |
| Wood or wood-clad | Fair — cladding protects the exterior face, but any breach exposes wood | Higher if sealant fails; requires diligent flashing | Higher; periodic sealant and finish checks |
| Aluminum | Poor to fair unless marine-grade coated; standard mill finish pits in salt air over time | Low for rot, but condensation risk without thermal breaks | Moderate; watch for corrosion at fasteners |
For homes in the Marietta area, we most often recommend vinyl or fiberglass for their resistance to the salt and moisture cycle, reserving wood-clad for owners who specifically want that look and are prepared for the added upkeep. We're glad to walk through glass packages (double vs. triple pane, Low-E coatings) separately — that decision is about energy performance and comfort more than climate durability, and it's worth its own conversation based on your home's orientation and budget.
How We Work With Builders and Owners in Marietta
Most of our new-construction window work in this area comes in one of two ways: as a subcontractor to a general contractor framing a new home or addition, or directly with an owner-builder managing their own trades. Either way, our process is the same:
- Walk the framed openings before window delivery to confirm sizing and check for anything that needs to be corrected before we flash.
- Coordinate timing with the WRB installer — we want to be flashing openings as the wrap goes on, not chasing it afterward.
- Use a documented flashing sequence on every opening, not just the ones facing the weather.
- Photo-document the flashing and sill pan work at each opening before it's covered by siding, so there's a record of what's behind the wall.
- Final adjustment pass after siding and trim are on, to check operation and seal integrity.
Working a defined process on every job — rather than improvising per opening — is what keeps a 12-window house from having 12 different outcomes five years out.
Mistakes We See on New Construction (and Build Our Process to Avoid)
| Mistake | Why It Matters in Whatcom County's Climate |
|---|---|
| WRB lapped backward at the sill | Directs water into the wall instead of out, especially under wind-driven rain |
| No sill pan, or a flat (non-sloped) sill pan | Water sits instead of draining, feeding moss and rot over a long wet season |
| Relying on caulk as the primary seal | Sealant fails years before the framing would otherwise; caulk should back up flashing, not replace it |
| Mismatched or uncoated fasteners near the coast | Corrodes faster in salt air, staining siding and weakening the fastening |
| Over-filled spray foam bowing the jambs | Distorts the frame, causing operational problems and seal gaps |
None of these mistakes require exotic fixes — they require a crew that's slowed down enough to do the sequence in order, every time.
What to Check Before You Hire for New-Construction Windows
- Do they use a sloped, back-dammed sill pan on every opening, not just "problem" ones?
- Can they describe their WRB lapping and flashing sequence without hesitating?
- Do they document flashing work with photos before it's covered by siding?
- Are they familiar with corrosion-resistant fastener requirements for near-coastal construction?
- Will they coordinate directly with your GC or WRB installer on timing, rather than working in isolation?
- Do they warranty their installation work separately from the manufacturer's product warranty?
Why Local Experience in Marietta Matters
Whatcom County's coastal exposure, rainfall pattern, and moss-friendly climate aren't unique in the abstract — plenty of Pacific Northwest crews understand wet-climate building science in general terms. What matters on a specific build is a crew that's installed windows on enough Marietta and Ferndale-area homes to know which elevations take the worst of the wind-driven rain locally, how salt exposure trends closer to the water versus a few miles inland, and how local wall assemblies and siding choices typically get built here. That's knowledge that shows up in small decisions — an extra flashing detail on a west-facing gable, a fastener upgrade near the water — that a generic crew working from a manual alone might miss.
If you're planning a new build or addition in Marietta and want the window openings done right the first time, we're happy to take a look at your plans or framed openings and walk you through exactly how we'd flash and install them. Reach out for a free, no-pressure estimate using the form below.