 Ferndale Siding
 Siding Repair Built for Lynden's Weather, Not a Generic Checklist
Lynden sits inland from the salt water but it doesn't escape what Whatcom County's weather does to exterior siding. Homes here deal with the same driving rain off the water, the same long stretch of damp, low-light months that feed moss and algae, and salt-laden air that drifts further inland than most homeowners expect. Siding that looks fine from the sidewalk can be failing quietly behind the surface, and a repair that doesn't account for how this climate behaves usually fails again within a year or two.
We're based out of Ferndale and work Whatcom County regularly, Lynden included. That matters more than it sounds like it should. A repair crew that only shows up once, quotes a patch, and leaves isn't the same as a crew that has already seen how this specific climate ages siding on this specific type of home, year after year.
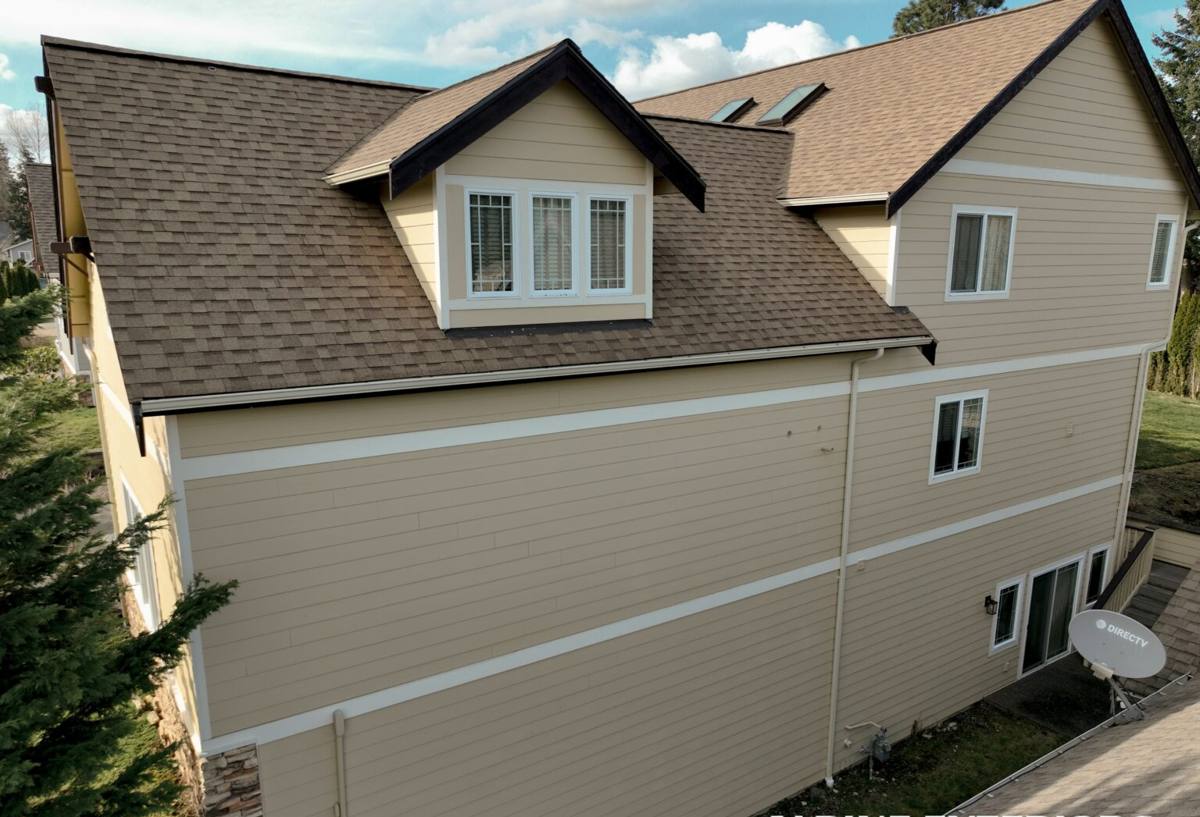
Why Siding Fails Faster Here Than in Drier Climates
Every siding material eventually shows wear, but the pace and pattern of that wear depends heavily on climate. In Lynden and the surrounding Whatcom County lowlands, three things do most of the damage:
Driving Rain and Wind-Driven Moisture
Rain here doesn't just fall straight down. Wind pushes it sideways into siding seams, butt joints, and anything with a gap or a failed caulk line. Over time that wind-driven moisture finds its way behind panels that look intact on the surface, especially around window trim, corner boards, and low areas near grade.
A Long Moss and Algae Season
Damp siding that doesn't get much direct sun — north-facing walls, areas shaded by trees or fences — stays wet longer here than it would in a drier region. That extended dampness is exactly what moss, algae, and mildew need to take hold. On some materials that's a cosmetic problem. On others, it's a sign that moisture is sitting against the surface long enough to start breaking it down.
Salt Air and Corrosion
Whatcom County's proximity to Puget Sound and the Strait of Georgia means salt-laden air travels further inland than people assume, especially during windier fall and winter weather. Salt exposure accelerates corrosion on fasteners, flashing, and any metal trim components, which is often the real cause of a stain or a loose panel that looks like an unrelated problem.
None of these factors act alone. A house with poor drainage near the foundation, deferred gutter maintenance, and some shade from mature trees will show siding problems years before an identical house with better sun exposure and drainage — even on the same street.
Signs Your Siding Needs Repair, Not Just a Wash
Homeowners often try to solve a siding problem with pressure washing or a coat of paint. Sometimes that's genuinely all it needs. Other times it masks a problem that keeps getting worse underneath. Signs worth taking seriously include:
- Soft or spongy spots when you press on the siding, especially near the bottom courses or below windows
- Visible gaps, cracks, or separation at panel seams and butt joints
- Paint that's bubbling, peeling, or flaking in a localized area rather than uniformly across the wall
- Recurring moss or algae growth in the same spot no matter how often it's cleaned
- Staining or discoloration that tracks downward from a specific point, like a trim board or window head
- Rust streaks near fasteners or trim, which point to corroding hardware behind the surface
- A musty smell or visible mold on the interior wall near an exterior wall that has exterior damage
- Warping, buckling, or panels that no longer sit flush against the wall
Any one of these can be minor. Several of them together, or any of them near ground level or a roofline transition, usually mean the damage extends further than what's visible from outside.
What a Correct Siding Repair Actually Involves
Diagnosing the Real Problem First
The most common mistake in siding repair is treating the visible damage as the whole problem. A stained or soft panel is a symptom. The actual cause is almost always moisture getting in somewhere else — a failed seal, damaged flashing, a clogged gutter overflowing onto the wall below, or grading that pushes water back toward the foundation. A repair that replaces the damaged panel without addressing the entry point will look fine for a season and then fail again in the same spot.
A proper diagnosis means pulling back enough of the surrounding material to see what's happening behind it, checking the condition of the water-resistive barrier, and tracing the moisture path back to its source before any new material goes up.
Matching Materials the Right Way
Patching one panel with a slightly different profile, thickness, or finish creates a visible seam and, worse, a new place for water to collect. On fiber cement siding specifically, matching the factory finish matters — a field-painted patch next to a factory-finished ColorPlus panel will weather differently and show the repair line for years. Correct repair work uses matching profile, matching exposure, and matching finish wherever possible, and is upfront when an exact match isn't available.
Getting the Details Right: Flashing, Fastening, and Sealant
The siding panel itself is rarely the weak point — the details around it are. Correct repair work reinstalls flashing so water sheds outward and downward, not behind the wall assembly. It uses corrosion-resistant fasteners set to the manufacturer's spacing and depth, not just whatever holds the panel up. And it uses sealant only where the manufacturer calls for it, since over-sealing siding joints can trap moisture just as easily as under-sealing lets it in.
Repair vs. Replacement: How to Think About the Decision
Not every damaged section needs full replacement, and not every repair is worth doing instead of replacing a wall or a home's full siding. The right call depends on how widespread the damage is and what's causing it.
| Factor | Points Toward Repair | Points Toward Replacement |
|---|---|---|
| Extent of damage | Isolated to one or two areas | Spread across multiple walls or elevations |
| Cause | Single identifiable source, now fixed | Systemic moisture issue affecting the whole wall assembly |
| Material age | Siding is well within its service life | Siding is near or past its expected lifespan |
| Underlying sheathing | Sheathing and barrier are sound | Sheathing shows rot or the barrier has failed broadly |
| Finish match | Close color/profile match is available | Product is discontinued or match will be visibly off |
An honest contractor will tell you when a repair is the right, cost-effective call — and will also tell you when it isn't, instead of stringing along a series of patches on siding that's structurally past its useful life. We'll give you that straight assessment rather than defaulting to whichever answer is more profitable for us.
Why Our Repair Work Uses James Hardie, Not a Mix of Materials
We install and repair with James Hardie fiber cement exclusively. We don't stock or install vinyl, LP SmartSide, primed wood, or other fiber cement alternatives. That's a deliberate standard, not a limitation we work around. Fiber cement holds up to the moisture cycle described above — wet, then dry, then wet again for months at a stretch — in a way that engineered wood products and vinyl often don't over the long run in this climate. It doesn't feed moss and algae the way some organic-based products can, it resists the freeze-thaw and moisture swings common in Whatcom County winters, and Hardie's ColorPlus factory finish holds color and resists the fading and chalking that field-applied paint eventually shows.
When we repair a home that already has Hardie siding, we can match the existing product line closely. When we repair or replace on a home with a different material, we'll be honest about what a true repair on that product involves — and where relevant, why we'd recommend transitioning that section, or eventually the whole exterior, to a material built to hold up here.
Our Process for a Lynden Siding Repair
- On-site inspection. We look at the visible damage and check the areas most likely to be hiding related problems — corners, penetrations, low walls, anywhere water collects.
- Moisture and cause diagnosis. Where damage suggests deeper moisture intrusion, we open up enough of the wall to see what's actually happening behind the siding before quoting a fix.
- Honest scope and estimate. You get a clear explanation of what's damaged, why, and what it will take to fix it correctly — including if that scope is larger or smaller than what was originally assumed.
- Repair with matched materials. We replace damaged sections with correctly profiled, correctly finished material, reinstall flashing properly, and fasten to spec.
- Final check. We confirm the repaired area sheds water correctly and sits flush with the surrounding wall before we call it done.
Why a Crew That Already Works in Lynden Is Worth Choosing
Siding repair is a small enough job that it's tempting to hire whoever answers the phone first or offers the lowest bid. The problem is that a lot of siding repair work looks fine on day one and only shows whether it was done correctly a year or two later, once the next wet season tests it. A crew that works Whatcom County regularly has already seen how repairs on Lynden-area homes hold up over time — which fixes last and which ones come back as callbacks. That's a different level of accountability than a crew passing through once for a single job.
Working locally also means fewer surprises around scheduling, permitting where it applies, and simply understanding what a normal Whatcom County home's exterior looks like versus what's actually a red flag.
If you've got a section of siding in Lynden that's stained, soft, cracked, or just not holding up the way it should, we're glad to take a look. Reach out below for a free, no-pressure estimate — we'll tell you honestly whether it's a repair, a replacement, or something in between.